
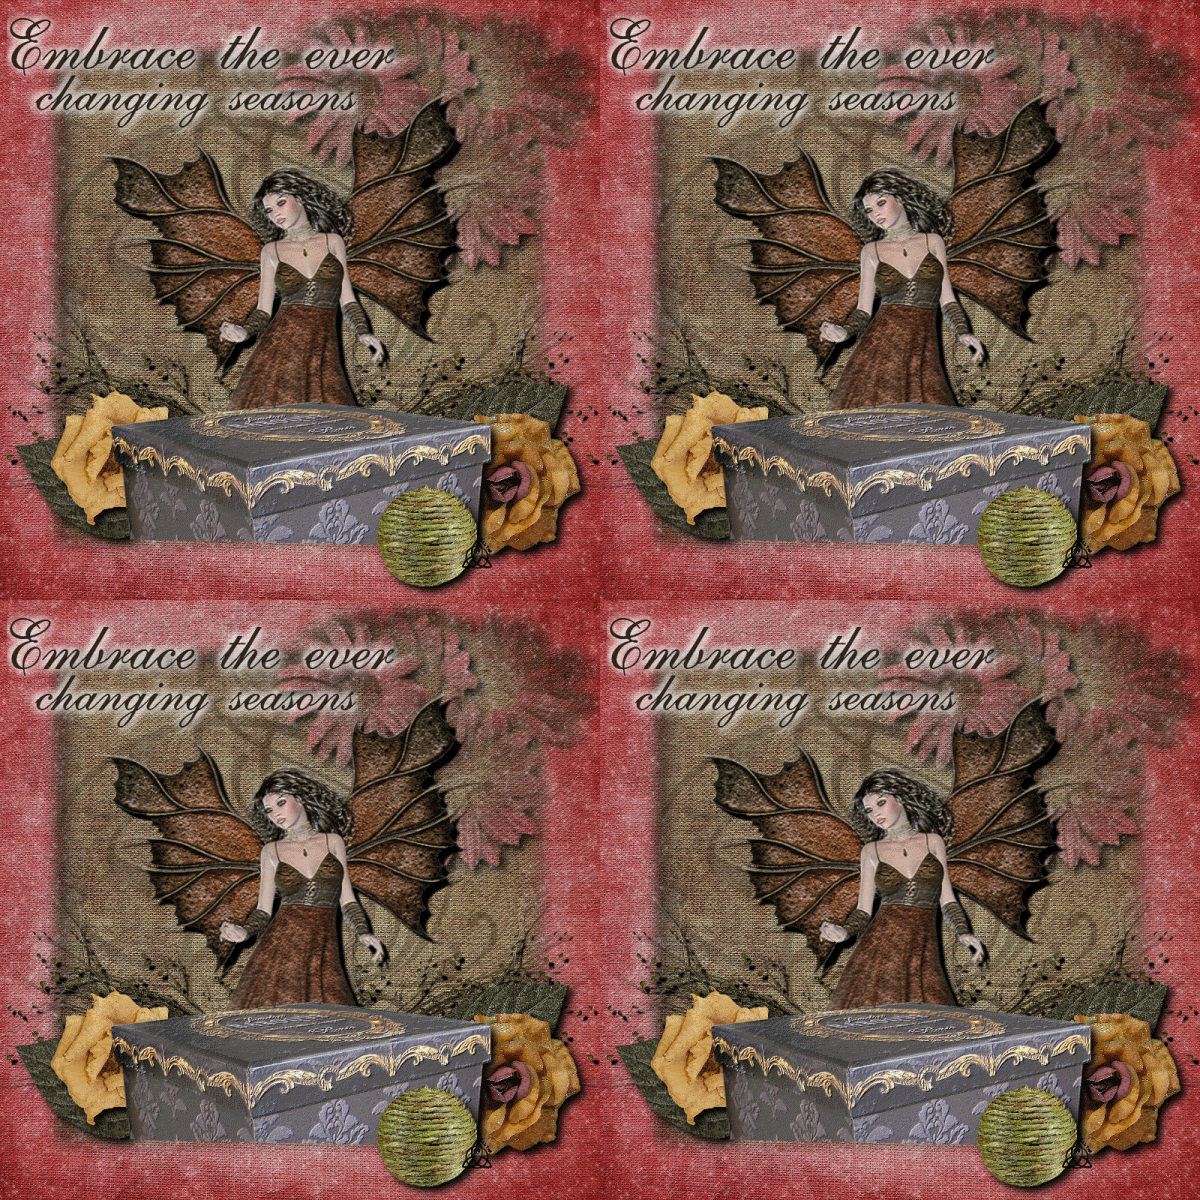
For this tag I used the wonderful work of Vicki from Gemini Creationz called Papyrus which can be found HERE
MASK.. I BELIEVE is Vix, if not and it belongs to you PLEASE let me know and I can correct this oversight.
Animation Shop (Link Above)
Here we go.....
OPEN two papers of choice, background and frame
APPLY mask to Frame paper and COPY MERGED.
PASTE onto background layer, apply drop shadow if you would like. I used 7, 7, 100, 15 BLACK
I wanted more texture on my background so I used Swirl1 with a transparency of 30
ADD Deco Box
ADD flowers ect around as you would like (drop shadows where you feel you want)
I have my flowers LAYERD as so they pop out of my frame. Adjust as needed.
ADD Tube of choice, I used the beautiful fairy included in the kit thanks Vicki!
RESIZE I did 75%
SELECT Your FRAME layer.
Go to your plug in Alien Skin Xenofex 2 > Constellation The settings I used are as follows using random seed:
COPY MERGED
Go to ANIMATION SHOP
PASTE as new image
BACK TO PSP
***UNDO Constellation. Back to PLUG IN, use diffrent random seed, repeat COPY MERGED and go to Animation shop, paste after selected frame. Do this 2 more times (more or less as you would like)*** Notice How many base layers you have in the bottom right corner
BACK to PSP. Add New Raster Layer.
Apply copyrights
Add any text you would like.
Merge the new layers if there is more then 1... COPY only the new layer (s)
PASTE in Animation shop as a NEW Animation
CTRL+SHFT+L to repete as many times as you have base layers
CTRL+SHFT+A to select all
CTRL+SHFT+C to copy
ON BASE LAYER
CTRL+SHFT+A
CTRL+SHFT+E to paste. Remember if you move your mouse you WILL move the layer. Be careful and do not click until it is where you want it. You can fix this with a simple undo.
RUN and SAVE your New tag!
Friday, July 31, 2009
Embrace
Friday, July 10, 2009


Saturday, July 4, 2009
Paint Your Dreams

For this tutorial I used
the beautiful Starving Artiest Kit from Bits N Bobs which can be purchased HERE
the wonderful artwork of Suzanne Woolcott which can be purchased HERE
the mask I believe to be PSP X2 stock and I have included it in the tutorial, if it is NOT stock and the mask is your creation PLEASE let me know so I can correct this post.
Let us begin...
OPEN a NEW canvas I used 800x800 flood filled black
PASTE your rainbow as you would like it, I dropped mine down to a 75% transparency for the effect I wanted.
PASTE any other embellishments you would like. I used the bubbles and sparkels, with a 80% transparency and the disco ball as is at 100%
ADD Copyrights and wording (remember to stay away from the edges as your mask will delete them and you do not want to lose your copyrights!)
MERGE ALL
APPLY Mask
Save as a .png file.
I hope you enjoyed this simple tut! Have a blessed day ~Lorilynn
Saturday, June 20, 2009
Summer Garden
For this tag I used to wonderful work of Julie from Bits N Bobs, the kit is called "Garden of Life" and can be found HERE
Sqirlz Water reflection which can be found HERE
Animation Shop which can be found following the link on the main blog page
Work of Suzanne Woolcott which can be purchased HERE
Lets get started...

- First choose your background paper, I used #8 but you can pick what ever you like.
- Now you are going to PASTE your center of choice as a new layer. I used doodle 3, you could use anthing here the doodles, blings sparkles whatever you want. You may have to strech it to make it fit the way you would like.
- Personally I felt my bacground was to dark so I put it at a 50% transparancy and I added a drop shadow to my doodle. Then I MERGED ALL
- Save this as your base layer.
- Add new RASTER LAYER and then COPY this layer and PASTE it as a new image.
- This will be the beginings of your foreground layer,
- You can choose any of the frames privided or make one of your own, I used the ribbon doodle 1 to make my own frame.
- Add whatever embelishments or tubes you would like to acchieve the look you are going for. With such light colors I always use a drop shadow to make them each stand out a bit more. Layer everything as you would like. I have my tube under the frame and the rest on top of it. Dont forget all wording and copyrights.
- When you have this how you would like it to look open up the Water Reflection program.
- IN this you want to open your BASE layer
- Hit the elips looking thing one the left and select the whole image by left clicking on each corner and then right click to get your ants.

- Using the Rain/Snow you want to make a light rain shower, I used the settings below but you ca
 n tweek them he wy you would like.
 - SAVE this base as a GIF
- Go to Animation shop and open your base, take notice as to how many layers there are.
- Back in PSP COPY Merged everything you have on the frame layer all at once, and PASTE it as a new animation in Animation Shop
- CTRL+ SHIFY + L until your frame layer matches your base layer.
- On the frame Layer CTRL + A to select all and CTRL + C to copy
- on the base layer CTRL + A and then CTRL + E to paste on top of the base, make sure you are centered!

Wednesday, June 10, 2009

Lifetime

For this tutorial I used the beautiful work of Julie from BitsNBobs through the kit 'She Dreams' which can be found HERE
Eye Candy Impact 5:Gradiant Glow
Lets get started.
- First OPEN your bubble of choice, we all know I love purple so we know which one I chose Ü and resize it 150%. (This is to make it easier to work with while we go.)
- Create a new raster layer, transparent
- Using your ELLIPSE TOOL Create a circle the same size as the bubble outline dark gray and inside what ever background you would like for your bubble. I used a purple with the texture of wet leaves. Since you made this on a new layer you can switch to the PICK TOOL to resize your circle if need be.
- In order if what I added to my bubble I have the Element 5 (leaves), Curled ribbon 1, wings 1 and dress 2. I only added a small drop shadow to the dress because I liked the way the rest of it turned out without one.
- I flood filled my background with a landscape like fill
- Added a few stars
- Wording I used Brock Script with a GRADIENT GLOW of soft white 7.5 width.
- Added my mark (Don't forget copyrights if needed)
- RESIZE (I did 50%)
- SAVE
Hope you enjoyed this tutorial Blessed Be, and don't forget to share your results! Lorilynn
Sunday, June 7, 2009
Splashing good time

For this tutorial I used the Slish Splash Splosh Kit from Gemini Creationz which can be found HERE
Lets get started....
- First I opened my frame of choice which was frame 2
- I opened a new transparent canvas and flood filled it with what I thought would make a nice 'water' color with a 75% transparency. I then freehand selected (cut) some off of the top to make a water ripple effect. It took me a few tries to get this right so play around with it.
- I copied the water layer and placed it behind my frame and trimmed off the over hang the same way I did with the ripple waves, then I added a slightly darker blue drop shadow to the water.
- I found a gravel picture on photo bucket and cut it the same way to make the bottom of my 'fishbowl effect'.
- From here I just added assorted elements from the kit and placed them where I wanted them all with a slight black drop shadow.
- Once I had the basic look I desired I wanted to make my word art. To do this I picked a very light grey for my foreground and a transparent background, and using my preset shape tool made a circle around the inside of the frame. Next I stretched it out just a touch so my words would be totally inside the frame.
- Useing my test tool, I clicked on the circle I had made when I saw the semicircle under the A (font tool) this means you are writing on the curve. I added my text. I had to tweek this a few times as well till I got it where I wanted it.
- COPY MERGED and place on your background of choice, I picked the light yellow because it seemed nice and sunny to me.
- I added my mark (dont forget any copyrights you may need to add) and the name for my tag. Resize and SAVE!


