For the following Tutorial I used the PTU scrap kit Spring Spirit by Bluedream Designs. You can purchase the kit HERE
I used Alien Skin Xenofix which you can download a trial HERE
I used the AWESOME art work of Keith Garvey which you can get at MyPSPTubes HERE
I used the following masks as well: (I have had these masks for a while before I knew about copyright laws, I have no idea if they were stock with my PSP or not. No harm was intended and if they are yours please let me know so I can give proper credit to you

- Open all three papers and decide what you want your base and two masks to be made from.
- Apply each mask to the selected layer.
- Copy merged each masked layer in the order in which you would like them to appear on top of your base layer.
- I added two of the clouds in between the two masks. And applied a drop shadow 2, 2, 100, 23 black. I chose black because I love a good spring storm.
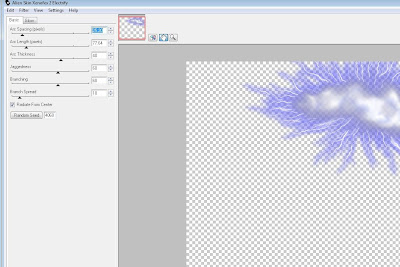
- I used Alien Skin Electrafy on the clouds with the following settings, you can adjust them however you want.

- I arranged the spring tag and bows in the way I wanted them to appear, along with drop shadows on them.
- The only other embelishment I used was the butterfly but you can use what ever gives you the effect that you would like.
- Add your tube of choice with a drop shadow.
- Add all copyright information and name if desired
- Resize your tag if desired and save,
- I hope you enjoyed this Tut! Ü


0 comments:
Post a Comment