THOUSANDS OF FREE BLOGGER TEMPLATES

Notice

My Daughter was born on Feb 14, 2010 and she is wonderfully healthy! Thank you for all the wonderful emails about everything. I just wanted to say that for right now since life has gotten so busy I am working mainly on tags and layouts. There will be the occasional tutorial but not as many as before. I am sorry if this causes any problems, but family comes first! I hope this finds all my followers doing well! Blessed Be! ~Lori

Quick Links

These are the Quick Links to my most used supplies =]

PSP
Alien Skin
Vix
Squirlz Water Reflections
Garvey
Gorjuss
Animation Shop

Saturday, January 31, 2009

Luck of the Irish (ANIMATED)


  • Luck of the Irish
  • All of my tutorials are written for someone with a working knowledge of PSP. Any resemblance to any other tutorial is purely unintentional.
  • This tut will require PSP (I used X2 but any will do) And Animation Shop.
  • Scrap kit used is Saint Patrick's by Lisa's Designs and is FTU and can be found HERE.
  • Tube is called St Patty and is by voodoo4u2nv@ Deviant art and can be found HERE
  • Mask is VIX_31 and included in supplies.
  • Rainbow is by Night Owl bless her heart you can enjoy her work at www.NiteOwlsRoost.com and the rainbow is also included in my supplies
  • My Supplies can be downloaded HERE
  • Here we go! Remember to save oftin!
  • Open both the light and dark green glitter papers and re size them both to 150%. Add the mask to the paper that you wish to me your trees, Place a drop shadow on the tree layer if you would wish. COPY MERGED and then PASTE to the background layer.
  • Add other embellishments and tube how you would like them, and add drop shadows if you would wish.
  • DO NOT forget all copyrights!!
  • MERGE ALL layers and then lock them.
  • COPY MERGED and transfer to Animation Shop as a new animation. CTRL+SHIFT+L until you have 31 frames in this animation.
  • Open the Rainbow and DELETE the BLACK frame. This should leave you with 31 frames in this animation. While the rainbow is your working animation CTRL+C. MOVE to the tag being your working animation and CTRL+E. DROP it where you would like it. RUN to see the effect you have. If you do not like it you can EDIT, UNDO PASTE and redo it for the effect you would like.
  • Back in PSP add a new raster layer to your tag. On this layer put the name you would like on the tag and make sure it is positioned where you would like it. HIDE the base layer by clicking on the eye in that layer in the layers palette, Now COPY MERGED and paste it over in Animation Shop. Again you need 31 frames of this (CTRL+SHIFT+L) COPY (CTRL+C) and PASTE (CTRL+E) into the tag with the rainbow already on it.
  • Run Animation and save! I hope you had fun with this tut Blessed Be ~Lorilynn

Friday, January 30, 2009

Intoxicated (Animated)


This Tutorial will require Animation shop.
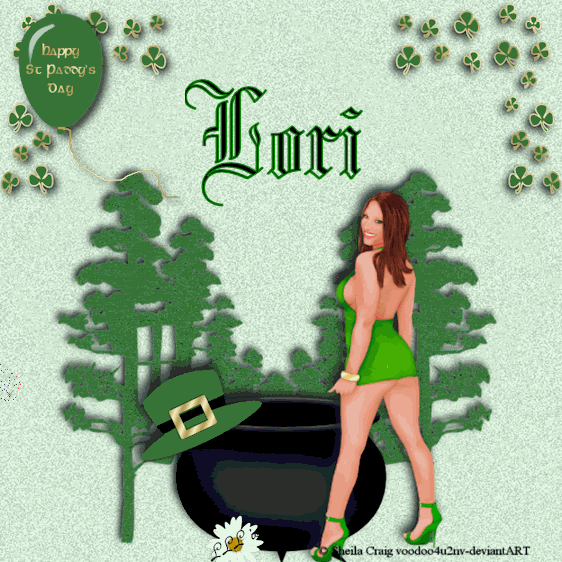
Kit used is bt Lisasdesigns and can be found under 'free kits HERE

  • Pick your paper for your background, you are eventually going to use both versions of the same paper. resize 150%
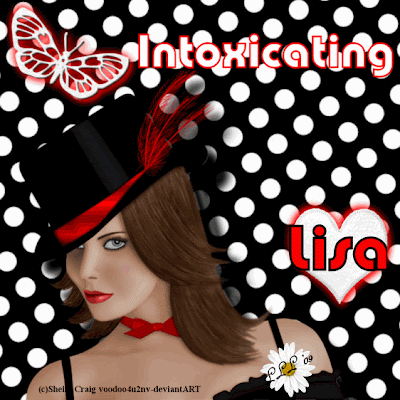
  • Paste Tube where desired.
  • Drop shadow. I used 20, 20, 100 15.94, black. I did this twice for the effect I wanted.
  • add other embellishments (all either white or black versions) you wish to use with a drop shadow -5,-5, 100 15.94, red AND 5,5,100 15.94, red to give them a glow effect.
  • Add whatever text you would like and make sure it has a thick (I used 4.0) red outline.
  • Save this image as whatever you would like to call it. with a '1' after it.
  • Now open the opposites of everything you had. Resize the paper again to 150% and paste it over the first paper you used. Make sure everything else is still on top of it.
  • Now take the opposites of your embellishments and paste them over the old ones as well. Doing it like this will insure you have them completely covered.
  • On your text go to edit text (from your right click over the text) and change the internal color here as well without changing your outline.
  • Save this as whatever your image name is with a '2'
  • In Animation Shop use the Animation Wizard to make an animation out of frames 1 and 2. Make the duration 40.
  • Back in PSP you are going to make a new raster layer, On this you want to add your copyrights, watermarks, and name if you wish. HIDE all other layers and copy this new layer to Animation shop as a new animation, CTRL+Shift+L to add an additional frame with the same image.
  • CTRL+C on the bar above the raster and CTRL+ E on the bar above the tags, make sure to position properly.
  • Run the animation and save Ü
  • Relax


    Scrap Kit is called Bath Supplies by Jessica, and quite frankly I don't remember which Jessica I got it from so if it is yours please let me know so I can correct this post. Thank you!
    • Open the Wood frame and increase image to 150%
    • Inside the frame paste the background and stretch to fit inside the frame,
    • Add drop shadow to the frame as desired,
    • Use other embellishments to your liking with or without drop shadows.
    • add text and copyrights.

    Hi all

    Just a little note that if any of you use my tutorials I would LOVE to see them. Feel free to send me your results at Buterflylori09@aol.com

    Thursday, January 29, 2009

    Date Night (Animated)


    Tutorials are written for someone with a working knowledge of PSP. All Tutorials are made by me any resemblance to any other tut is purely coincidental and unintended. Remember to save often as you go!
    Supplies used in this Tut are
    1. Paint Shop Pro (I have 2x but any will do)
    2. Alien Skin Xenofex
    3. Animation Shop
    4. Scrap kit Hearts Desire by Yvette found here
    5. I used the artwork of Keith Garvey which you must have a licence for and can be purchased here
    • Open a transparent canvas 700x700.
    • If you would like a background picture on this please feel free to add it now.
    • Open and paste one of the envelops on the canvas and position it to your liking. Add drop shadow 8, 8, black, 100, 27.
    • Arrange roses and branches how you would like. Add drop shadow.
    • Add Ticket Stubs and other embellishments as you wish.
    • Add Tube and place Under the envelope as desired.
    • Make sure you add all copyrights to your work.
    • Copy merged and paste as three (3) new images.
    • Using Alien Skin Xenofex 2 Constellation apply the follorwing settings (you can tweak them for the effect you would like)
    • Do this with a random seed on all three layers
    • Copy the first layer and paste as a new animation in Animation Shop, then copy and paste each additional layer after it.
    • Run the file and save!
    I hope that you enjoyed this Tutorial. Blessed Be ~Lorilynn

    Love Conquers All


    Tutorial by ButterflyLori a working knowledge of PSP is required. Any resemblance to any other tutorial is purely by accident. Enjoy.
    Scrap Kit: By Careyscreations4you FTU and can be found here
    Art: By Suzanne Woolcott available for licence at here
    Mask: WSL 122 FTU and included here
    Font: Edwardian Script
    • Open New canvas 700x700 fill color does not matter.
    • Flood Fill with color of choice or paste paper of choice.
    • On a new paper load the mask and copy and paste over base layer, move and add drop shadow as you wish for your effect.
    • With the mask layer still your working layer add Depth of field as below, you can adjust to your liking.:

    • make selection of inside heart, invert, save to disk.
    • Load tube of choice, load selection, cut out what is not needed, drop shadow if desired.
    • Add embellishments, word art and copyright info.
    • Resize if desired and save!
    I hope you enjoyed this tutorial. Blessed Be ~Lorilynn

    Here We Go!

    OK everyone as soon as I get this all figured out I will be posting the tags that I make and the tutorials that I make to go with them. I would like to thank everyone that provides me with the supplies that I use to make these tutorials and all of the wonderful artists that have taken the time to make the supplies. As always all my tutorials require a working knowledge of PSP and the rest you can figure out as you go along. I hope we all have a wonderful time with this. Blessed Be All!
    Lorilynn